Adding Textures to Photos Using Blend Modes: A Step-by-Step Guide
- Anthony Turnham
- Jun 21, 2024
- 4 min read
Updated: Mar 25
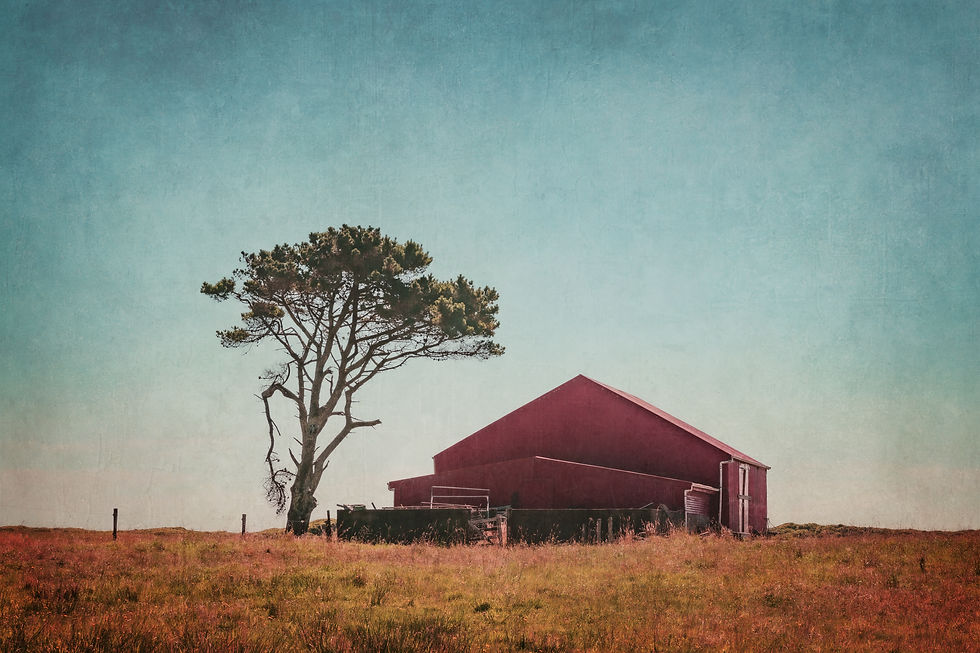
Incorporating textures into your photographs can add depth, character, and a unique artistic flair. Whether you're aiming for a vintage look, a gritty urban feel, or a painterly effect, textures can transform your images. In this guide, we'll walk you through how to use textures with blend modes in photo editing software like Adobe Photoshop, GIMP, Affinity Photo or Luminar Neo. In a time where we're bombarded with photography adding textures can be a great way to help your work stand out from the crowd. (Watch my video on adding textures here).

What Are Blend Modes?
Blend modes are a powerful feature in photo editing software that allow you to combine two images in various ways to create different effects. When you add a texture to a photo and apply a blend mode, the texture interacts with the photo beneath it, altering the way the colors and details of the two images combine.
Step-by-Step Guide to Using Textures with Blend Modes
Step 1: Choose Your Texture
First, you'll need a texture file. Textures can range from subtle grain to bold patterns or artistic paint strokes. You can find textures online or create your own by photographing interesting surfaces like fabric, concrete, or rusted metal. Ideally the texture resolution should be equal or higher than the photo you're using it with. Make sure your texture file is a high-quality JPEG for the best results. If you'd like to check out my custom pack of textures collected from around the world and save 80% with code "save80" limited time only.
Step 2: Open Your Photo and Texture in Your Editing Software
Launch your photo editing software and open the photo you want to enhance. Then, open your texture file. In most software, you'll need to import the texture as a new layer above your original photo.
Step 3: Adjust the Texture Layer
Before applying blend modes, you might want to adjust the size and position of the texture to fit your photo. Use the transform tools (like Free Transform in Photoshop) to resize, rotate, or move the texture layer so it covers your photo as desired.
Step 4: Choose a Blend Mode
With your texture layer selected, navigate to the blend mode options. These are usually found in the layers panel. Here are some common blend modes and the effects they create:
- **Overlay:** This blend mode adds a lot of contrast and tends to work well with most textures. It enhances the highlights and shadows of your photo, giving it a dramatic effect.
- **Soft Light:** Similar to Overlay but with a softer touch. It’s great for adding subtle texture without overwhelming your photo. (one of my favourite blend modes)
- **Multiply:** Darkens your photo by blending the texture with the underlying image. This mode is useful for creating a moody, dark effect or bringing details into brighter areas.
- **Screen:** The opposite of Multiply, this blend mode lightens your photo. It works well with textures that add light or sparkle. Great for creating pastel/ethereal looks
- **Hard Light:** Combines Multiply and Screen, creating a high-contrast effect that can be quite striking.
Step 5: Adjust Opacity
After selecting a blend mode, you may find the effect too strong. Adjust the opacity of the texture layer to fine-tune the effect. Lowering the opacity can help blend the texture more naturally into your photo.
Step 6: Refine the Texture Application
Sometimes, you may want the texture to affect only certain parts of your photo. Use layer masks to paint in or out the texture where you want it. For example, you might want the texture only in the background, leaving your subject clear and sharp. It's usually a good idea to remove the texture from the skin of people in your photos.
Step 7: Final Adjustments
Make any final adjustments to the overall image. This can include tweaking the brightness, contrast, saturation, or applying additional filters. The goal is to ensure the texture enhances the photo rather than overpowering it.
Adding LUTs (look up table filters) or colour grading layers can help to give the photo and texture a more cohesive look.
Examples and Inspiration
Here are a few ideas to get you started:
- **Vintage Look:** Use a paper or fabric texture with a Soft Light blend mode and reduced opacity to give your photo an aged, vintage feel.
- **Gritty Urban:** Apply a concrete or grunge texture with a Multiply blend mode to add a rugged, urban edge to your photos.
- **Dreamy Effect:** Use a bokeh or light leak texture with a Screen blend mode for a soft, dreamy look.
Conclusion
Adding textures to your photos using blend modes is a creative way to enhance your images and make them stand out. Experiment with different textures and blend modes to discover unique effects and styles. Happy editing!

By following this guide, you'll be able to add a new dimension to your photography, creating images that are not only visually striking but also uniquely your own. If you have any questions or need further assistance, feel free to leave a comment below. Happy creating!

Bình luận